
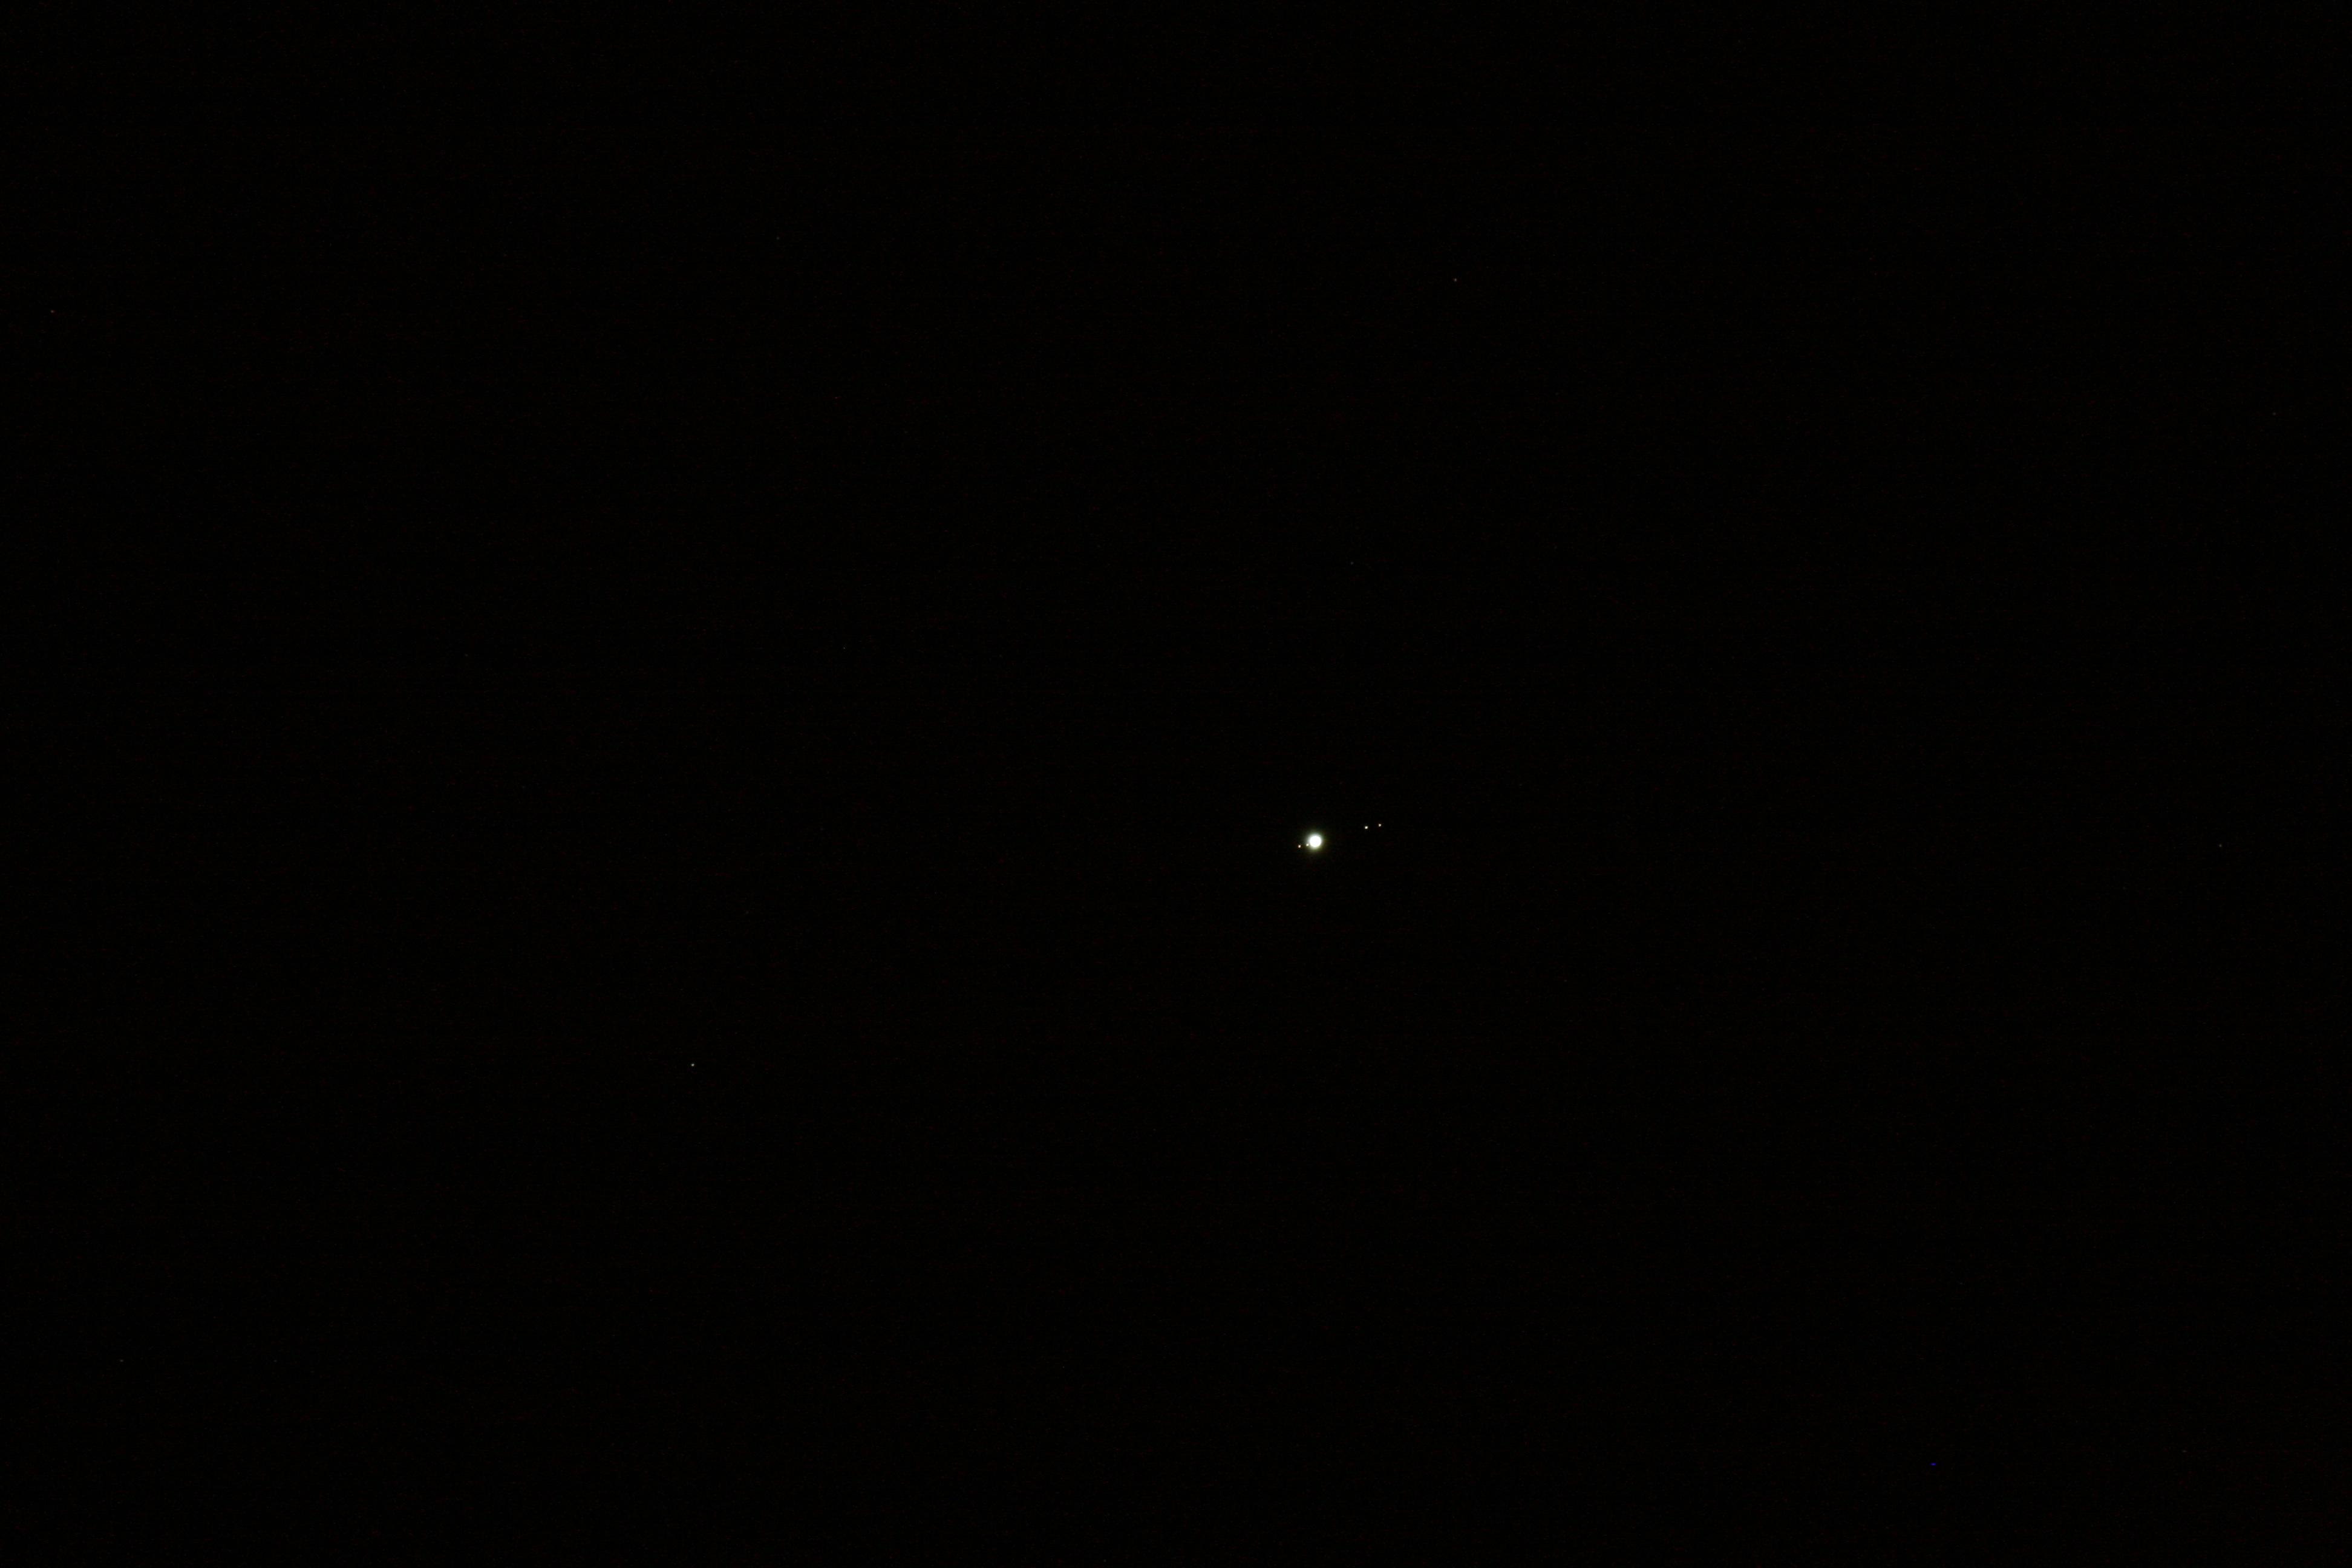
If you click on the photo above, you'll get the original, full-resolution image. The first thing you'll notice is that I did not see anything like the final picture in my camera's viewfinder. Instead, I saw a mostly black frame with a tiny white dot in the middle. Thanks to the Canon XTi's 10-megapixel resolution, a tightly-cropped view of the frame center shows the Jovian moons, in color.
In order to show the moons, it was necessary to significantly overexpose Jupiter's disk (ISO-800, 1/2 sec, f/5.6). Here is what it looks like when the picture is exposed for the planet's disk itself (ISO-800, 1/30 sec, f/16):
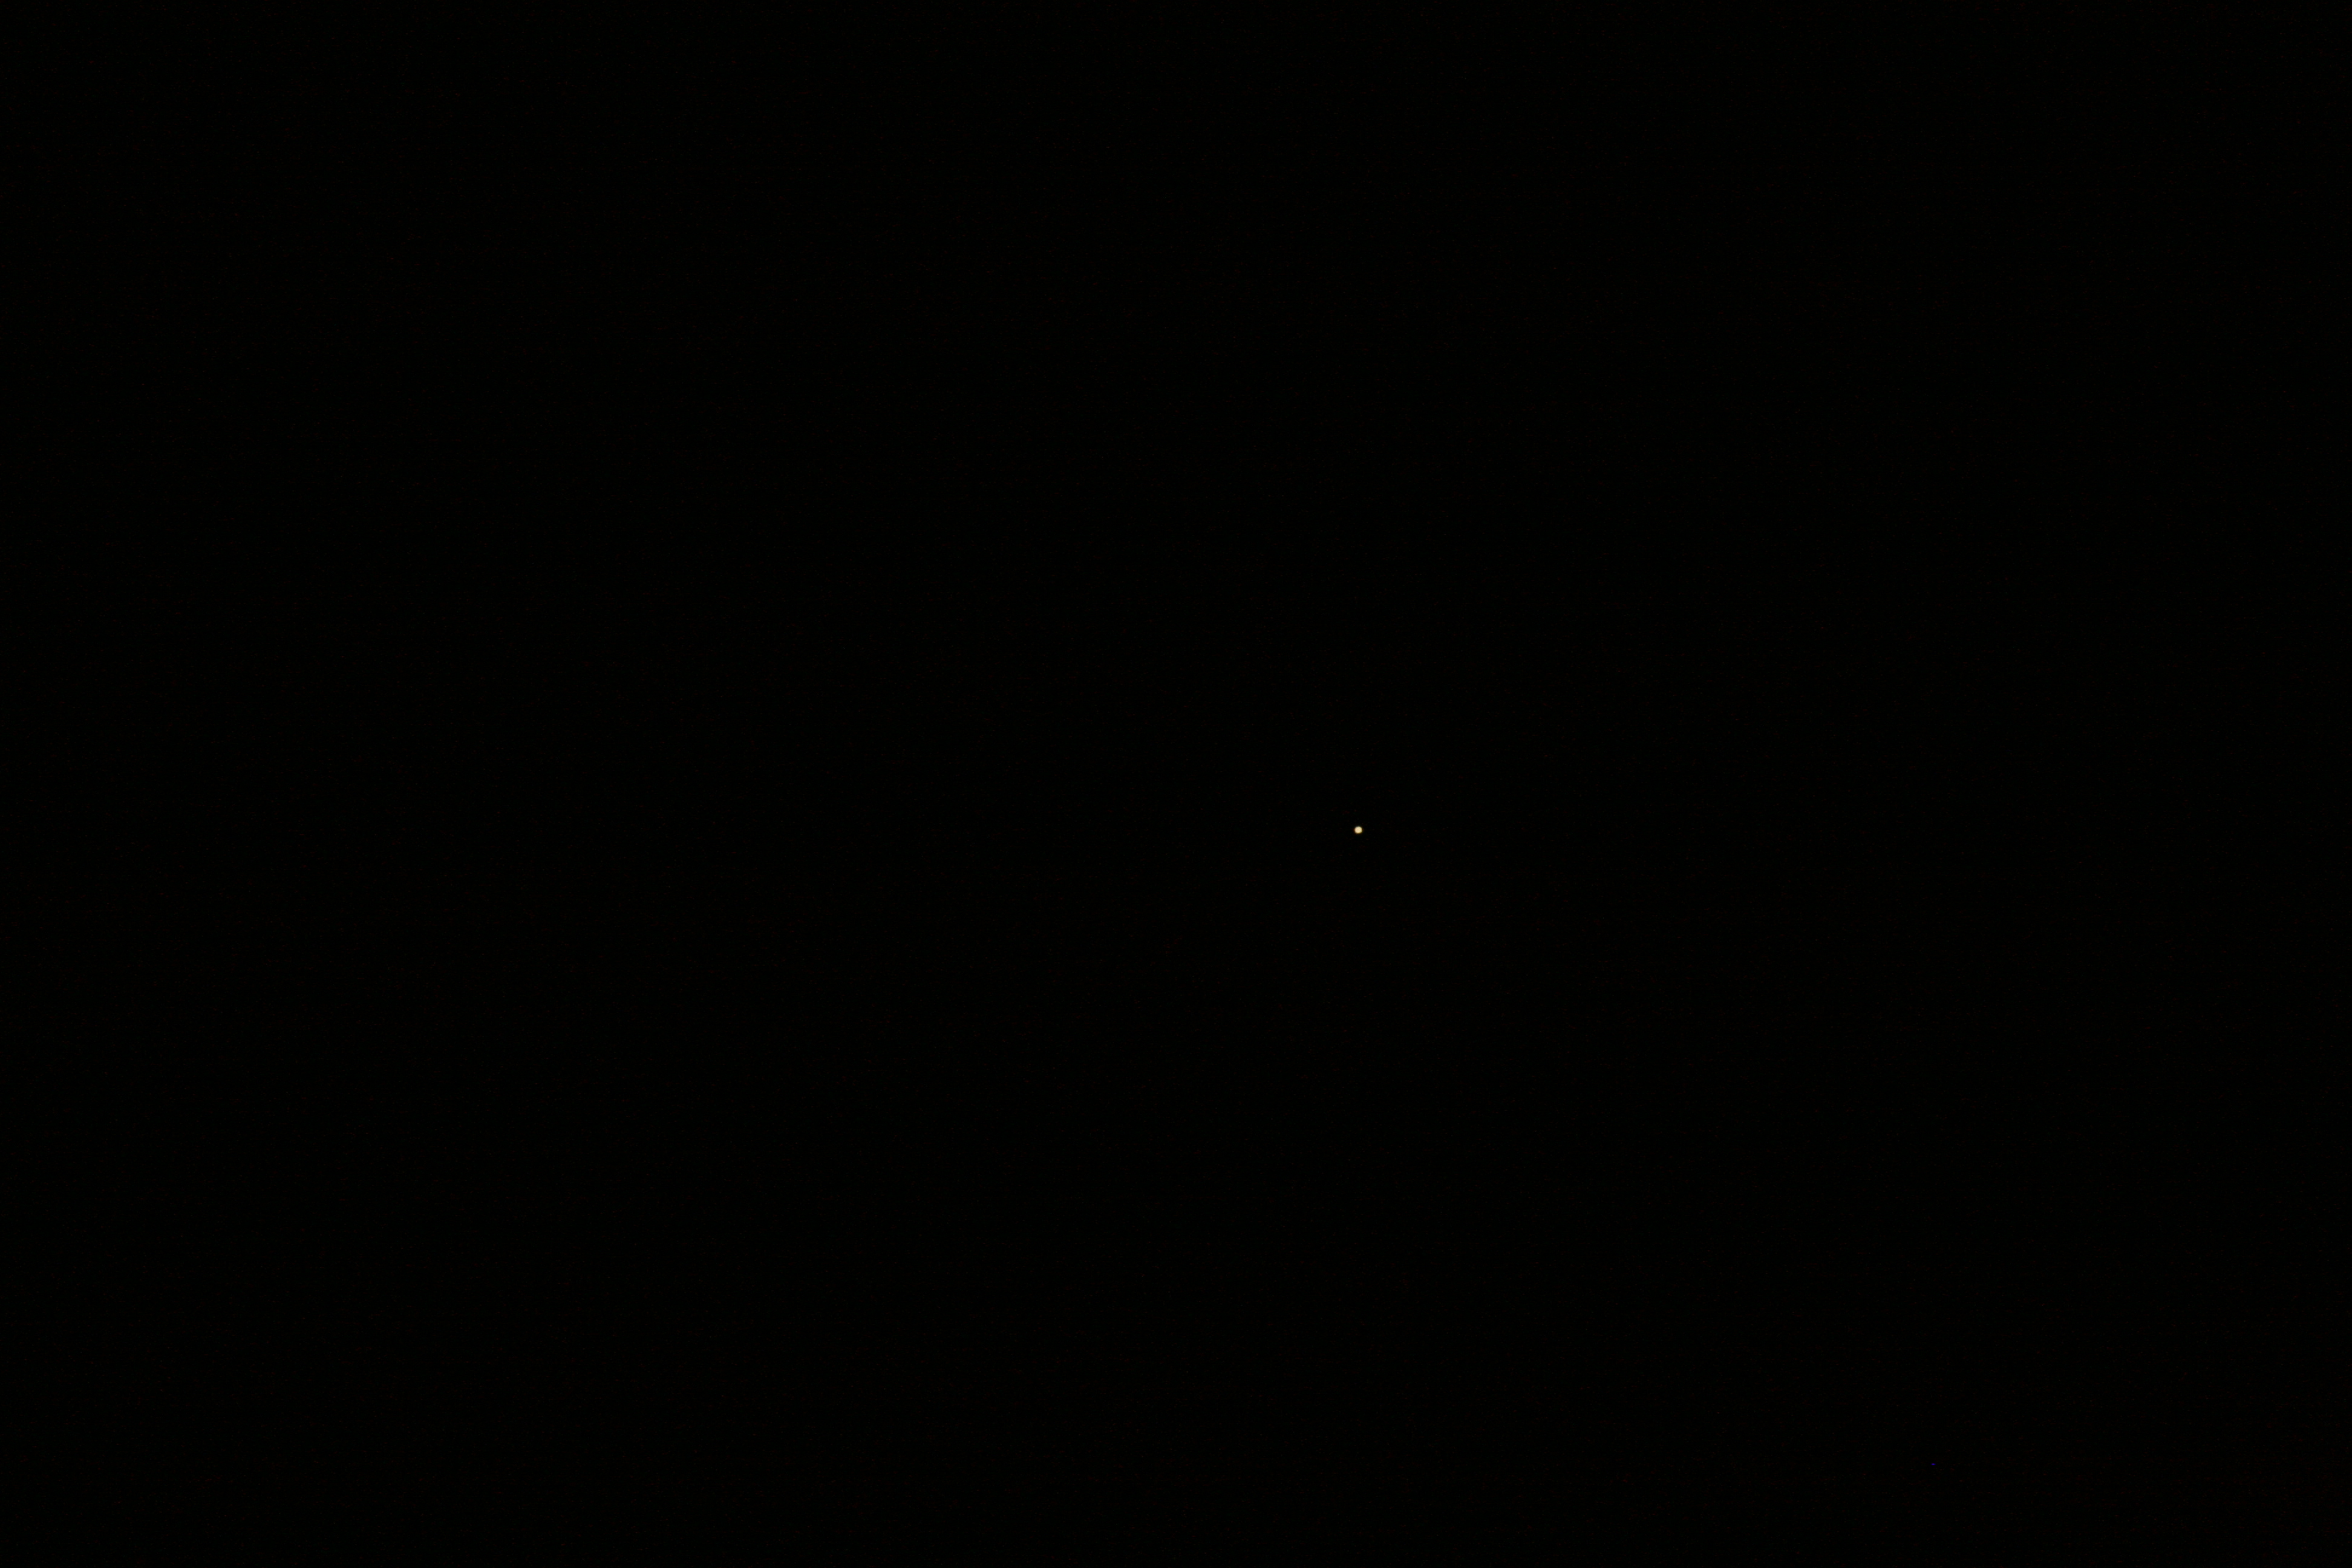
Notice that the disk appears much larger in the overexposed shot. This is due to one of the well-known problems faced by astronomers ever since the camera was invented: bright stars make bigger dots in an astrophotograph. Even though all of the stars have the same apparent size -- they are point-sources with no discernible diameter -- brighter ones "look" bigger in the picture. Although a planet like Jupiter does have visible width, overexposure makes the disk look bigger than it ought to be. Oh well.
Another tricky thing about astrophotography is getting the image in focus. It's harder than it sounds, since most lenses (even set for Manual) don't have a hard stop at "infinity." And when the target object is small and dim, it can be impossible to judge sharpness by eye. A camera's autofocus sometimes works, but not at the granularity needed -- and often it fails to lock on to a celestial object completely.
I used manual focus, aided by a modified Hartmann mask to create diffraction spikes. You can read about it here:
http://www.astronomy-pictures.com/Imaging-Tips.htm#focus2
On a bright point source (my bare maglight bulb), here is what it looks like when it's almost in focus; two images are coming together into one:

When focus is attained, twelve diffraction spikes appear radially around the point:

There is a saying: "In theory, there is no difference between theory and practice. But in practice, there is." When I used the technique on Jupiter, the spikes were a bit mushy, perhaps due to the fact that it was not actually a point source:
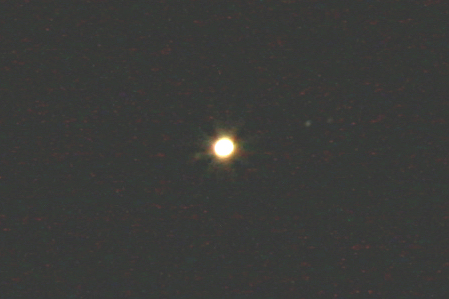
However, it got the job done. I suspect that Venus -- bright and small -- will work better with diffraction spike focusing. But that will be a different astrophotography adventure.
Tonight (July 10), I hope to capture Saturn and Mars on their closest conjunction for the next 14 years. They will be in the west, shortly after sunset.
No comments:
Post a Comment